- Shopping
- Autoclave Maintenance
- Autoclave Parts
- Autoclave Troubleshooting
- Dental Equipment Parts
- MEDIVATORS
- Videos and Animations
- EXAM TABLES & CHAIRS
- Case Studies
- Free Technical Support
- Autopsy Saw Parts
- Infant Incubators & Warmers
- Lab Equipment
- Ventilators
- Orthopedics & Physical Therapy
- Patient Cables & Leadwires
- ASPIRATORS AND SUCTION PUMPS
- Maintenance Guides
- Operational Manuals
- Maintenance Tips
- Parts Installation Guides
- Account Info
- Log In
- Create Account
- Autoclave Maintenance
- Autoclave Parts
- Autoclave Troubleshooting
- Dental Equipment Parts
- MEDIVATORS
- More
- Blog
Home ›
Dental Equipment Parts ›
Dental Compressor Parts ›
DENTAL EZ ›
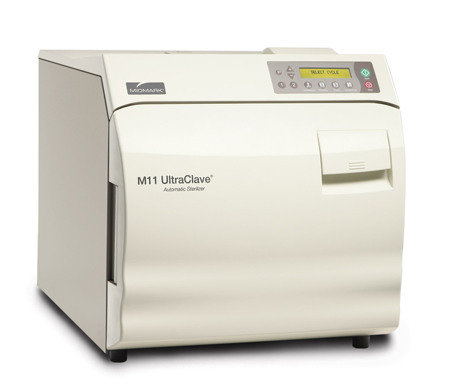
Midmark M11 DOOR PULSE SOLENOID
AllClaveParts
We are not eBay sellers who do not have a clue about what we are selling, or how the parts work. We are professionals and our knowledge of Autoclave Repair does not come from a book... it comes from years of hands on experience. We have repaired just about every autoclave on the market, and continue to repair them everyday. Our guidance is based on that experience. Our Troubleshooting Guides & Technical Support is the best you can get anywhere, and it's all free!
Address
AllClaveParts, LLC
Office Hours
Monday - Thursday
8:00 AM - 4:00 PM CDT
636-390-2792


